Are you looking for a fun way to transition to grey hair on your own?
Maybe you've been coloring your grey hair brown for years and are ready to go to your natural stunning silvers, but don't want that stark demarcation line, and want a way to blend your natural greying hair in with your dark colored hair.
Maybe you are wondering if you need to remove your hair color to go grey first, or if you should transition to grey hair with highlights.
Oh, and what you really want to know is if you can do this yourself at home!
Then you are in the right place!
This post will tell you step-by-step how to dye your hair grey from brown at home!
Learn what to do, and most importantly, what NOT to do!
Note: This post includes affiliate links. As an Amazon Associate, I earn from qualifying purchases.
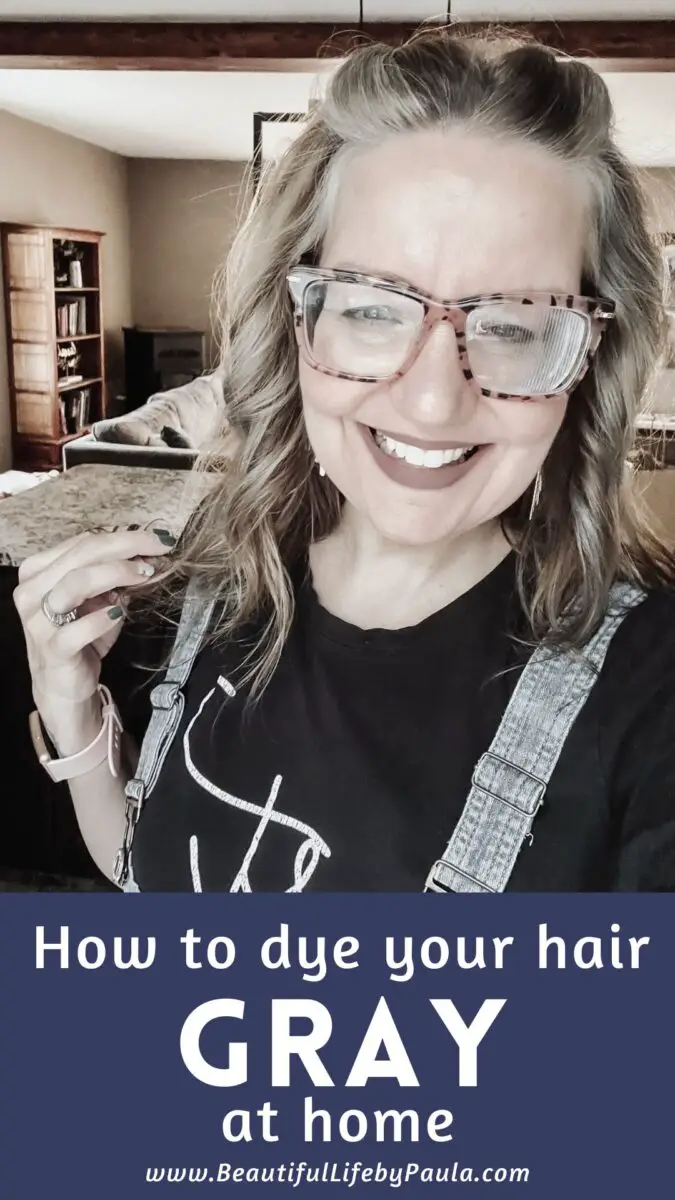
As I was mindlessly
scrolling doing research on Facebook recently, I saw my friend Sherri's post about deciding to take the plunge to dye her brown colored hair to grey.
We all cheered her on and looked forward to seeing her "after" pics after her appointment at the salon.
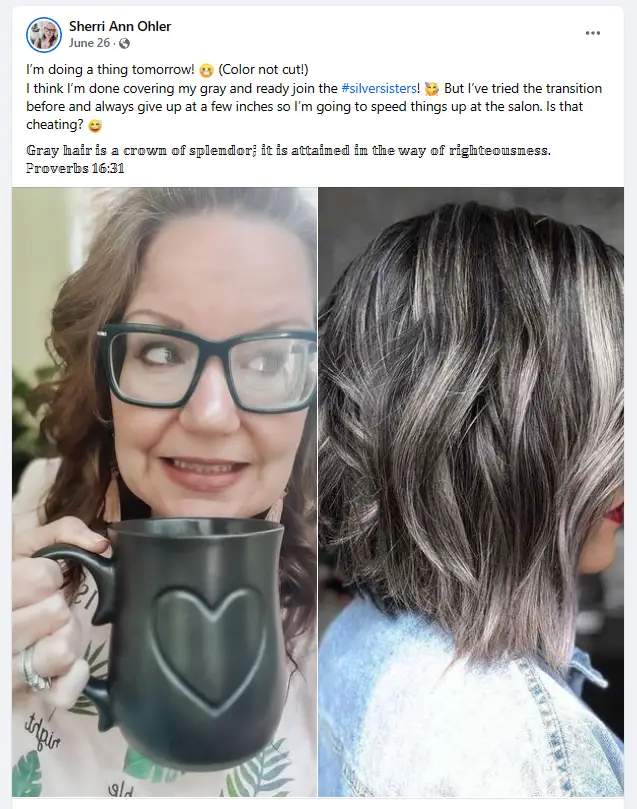
Imagine our surprise when her next post said this:
"So for those of you waiting on the “after” photo of my hair - the stylist was CRAZY, said she didn’t want to do my hair and kicked me out. 🤔😅🤷🏼♀️ I’m currently trying to find another salon! Will keep you posted!"
So once again we all patiently waited.
Imagine our surprise when Sherri posted this!
"Update on the HAIR SAGA: I went to a second stylist who I had consulted with for 45 min prior. When I arrived, she proceeded to dance around the topic for an hour without touching my hair. I finally left and went to Sally to do it myself and should be done by Saturday!" 🥰
YIKES! Sherri was actually going to attempt dying her own hair grey at home???!
Okay, so now we were all waiting with bated breath for the ending of this story!
Thankfully, the next update was a triumphant one, and we could all breathe a collective sigh of relief for our dear friend!
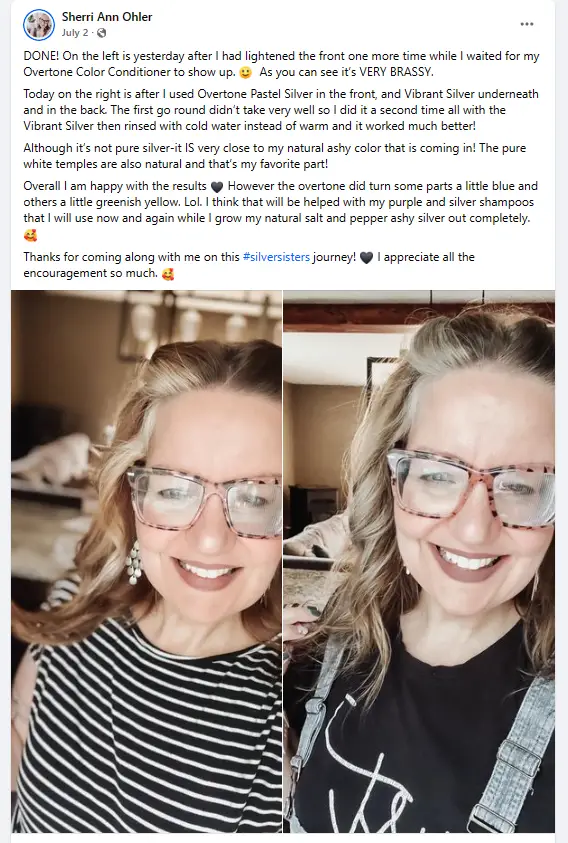
As you can see, Sherri's results were absolutely STUNNING!!!
She proved that you absolutely CAN color your own hair grey at home!
I was very intrigued by her story, and knew that YOU would be, too!
So I asked Sherri to tell us EXACTLY what she did so WE can do it, too!
How to Dye Your Hair Grey at Home
By Sherri Ohler
What I Set Out to Do

BEFORE photo, a few weeks between a fresh Herbishh Chestnut Brown shampoo and then some outgrowth
My goal was to match my natural ashy color with the silver coming through, especially white around my temples.
I wanted to do away with having such a stark transition as I go through the process of going naturally gray.
I wanted to eliminate having a line of demarcation with my old color-treated hair and my new, beautiful gray.
The specific details of the colors of products used will be different for you depending on what your natural hair color is and what your goals are, but the overall process I use will give you a game plan for how to get the results you want.
What I Did, Step-by-Step

BEFORE photo, a few weeks between a fresh Herbishh Chestnut Brown shampoo and then some outgrowth
Step 1. Bleach the parts you want to match your natural silver color
The first thing I did was bleach the parts of my hair that I wanted to match the white that was growing out around in my temples.
The natural color right at my roots is very dark ash with individual, very thin strands of silver-white.
I did not know a way to exactly match that pattern, so I added highlights all over.
However, I ended up covering those highlights over later because I could not get the highlights evenly distributed in the back of my head in the way that I wanted.
If you have a friend that you can enlist to do this for you to help foil the back of your head with bleached highlights that would be a huge help!
BEFORE photo, a few weeks between a fresh Herbishh Chestnut Brown shampoo and then some outgrowth
The first step is to start by bleaching the parts of your hair that you want completely light or white or silver.
You do not want to use a product in a box from like Target or anything like that.
For this step, you want to go with something like you can get from salon centric through somebody that has a license to get those products, or you can go to Sally Beauty Supply and buy bleach that lightens to the level or degree that you need.
I started with a bleach that lightens up to four times. But I found that four times wasn’t enough for what I wanted, so I ended up switching and using a bleach that lightens up to 7 levels, which is what I needed.
I used Blond Brilliance 9 Level Lightener.
When choosing a bleach, you want to use a 30 developer or go even lower to a 20 developer and give it a longer period of time to work.
Do not use a 40 developer, because that is going to just trash your hair, and nobody wants that!
Step 2. Remove existing hair color treatment
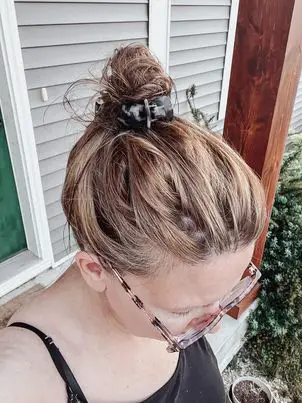
After color-remover
Once you get the bleached parts to the color that you want it, then it's time to work on the darker color you want.
Now, if you have any other kind of dye in your hair you will want to use a color remover.
I had a semi-permanent chestnut brown color shampoo for gray hair called Herbishh that I used every day and it left a lot of red in my hair.
I had to use a color remover on that. If you have a lot of hair that is color-treated, you can do this before step 1.
Or, you can do it after step 1, if you are just dealing with low lights where you don't want the reddish or whatever existing color you have.
You can just use the color remover on those parts.
But either way, if you have existing dye in your hair, you will probably need a color remover which you can also get at Sally.
Step 3. Dye the darker parts of your hair
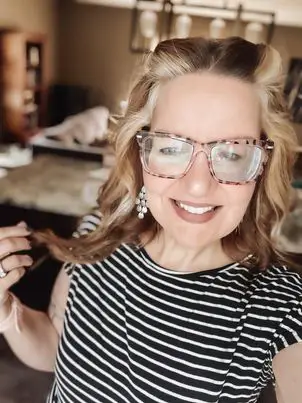
After first highlight
After using the color remover and bleaching the parts that I wanted to match the white that was coming in naturally, the next step was to deal with the darker parts of my hair.
I needed to separate the bleach blonde parts from the darker parts and I needed to choose a color that was most like my dark brown ash, which for me was a 4 N dark brown ash.
I actually tried a 5 NN light-brown ash, and it wasn't dark enough. So I had to go with the dark brown ash 4N. I used Color Brilliance by Ion.
Step 4. Don't do this
Then after I got all of that done, I tried using the overtone color-depositing conditioner mask in the vibrant silver color on my dark areas and in the pastel silver color on my white areas.
It did not work!
I would not recommend it. It was very expensive. It's $32 per tub, so. I spent $64 and I will not be using it again, so I have all this leftover product.
What that overtone product did, on the parts that were perfectly white, was turn them kind of silver.
But! On the parts that had any kind of brassy color to it at all, or any kind of brownish, any kind of red left at all in my hair, the result was not good!
The overtone - both of them, the pastel barely did anything, but what it did, do (both colors, vibrant or pastel) was pick up all the yellow and turned it green.
And it turned parts of my hair blue, like I'm talking royal blue.
So I do not recommend using overtone silvers, at all. It was completely undesirable. I looked like Rainbow Bright for a few days. 🌈😯
Thankfully, since it's just a conditioning mask and it's not semi-permanent or permanent, it washes after a few washes, so I just had to take the extra time it took to wash it all out.
Step 5. One more time
At that point I realized I probably needed to bleach my hair one more time because I didn't think it was light enough.
So, I went back on all the blonde and I added even a little bit more streaks in the front until I was satisfied that the light parts were light enough.

After third highlight/bleach
Step 6. Add a Toner
The toner I used was the Wella Charm T18 toner which is the lightest ash blonde because the natural color coming in at my temples is white.
You may need a different or darker color to match the color of hair that you have coming in. So, pick whatever is going to match your hair.
You can leave it on for up to 30 minutes.
When I was doing this step, about halfway through it look like it was so dark it looked like it was taking away the blonde and turning dark, so I rinsed it out.
But it turned out that was actually not the case. It was actually way blonde. It was just toning it to the ash and away from the gold and brassy tones, so next time I do it, I will leave it on a little bit longer.
Step 7. Restore and Condition

Then, in order for my hair to stay healthy, I use Kitch Shampoo - the rice water shampoo and conditioner.
It is transformative!
It completely and totally saved my hair, so I'm continuing to use that during this process in order to heal my hair.
But I'm also adding to my routine something called Milk_shake Silver Shine shampoo and Milk_shake Silver Shine conditioner, which is a toning purple shampoo and conditioner.
This particular brand does not dry out your hair, so it's mild enough for daily use.
So I'm using the Milk_shake with the Kitch - both the shampoo and the conditioner from both brands, in order to tone my hair away from the brass and towards the ash and keep my hair healthy.
Step 8. Use a Leave-in Toner
The final step that I do in order for my hair to have the silvery tone that I want is I use a spray leave-in conditioner called Blond Brilliance Anti-Yellow Leave in Toner. It’s in a spray bottle and that helps so much!
As I'm styling, I can just kind of put it on and brush it through wherever I want it while my hair is still damp and I'm drying it and it takes away any of the residual brassiness.
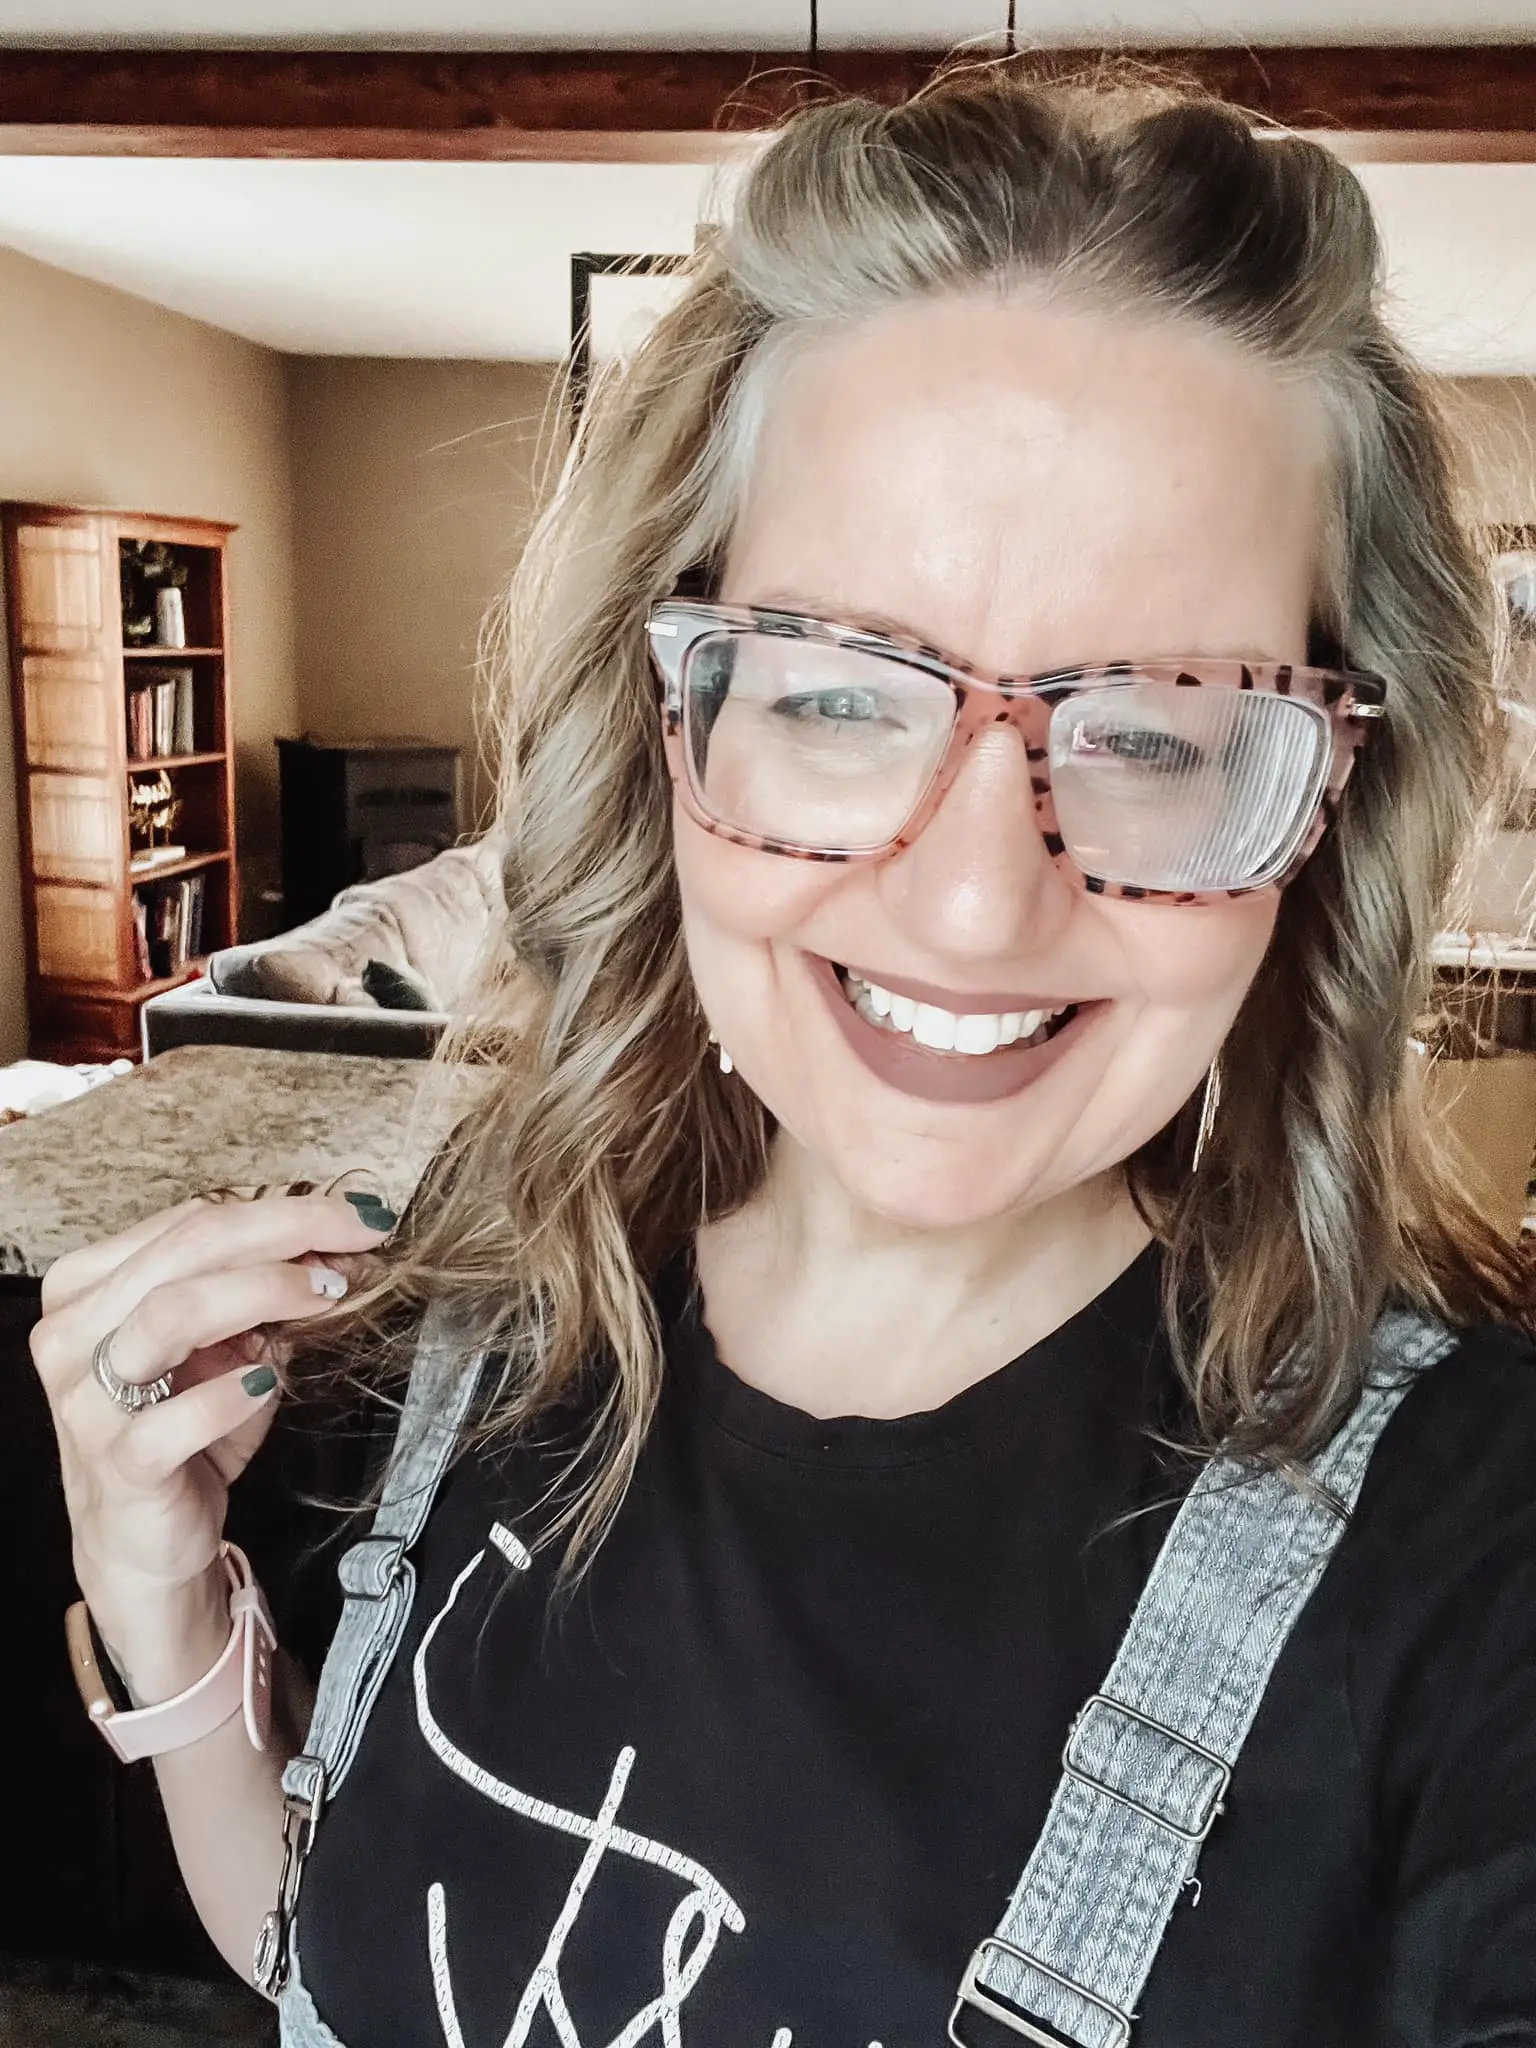
What I would do differently
My first time through this process involved a lot of trial and error. Based on what I learned, here is the order of the steps that I would recommend to you:
How to Dye Hair Gray at Home
1. Use a color remover if you have any dye on your hair at all.
2. BLEACH highlights or all over as light as possible with a 7-9 level lift, caring for your hair with Kitch Rice Water Shampoo and Conditioner between steps.
3. Use a silver toner to match the color that you want.
4. Dye the rest to a color that matches your roots, for me that was 4N dark brown ash.
5. Keep brassiness away with Milk Shake brand (which won’t dry out your hair) Silver Shine shampoo and conditioner, and Blond Brilliance Anti-Yellow Leave-in Spray Toner.
Conclusion
So, for now, this may be an ongoing process for me, but I am super happy with the results and we will see as my hair grows out on top how well it blends with the natural white at my temples which was my goal to begin with.
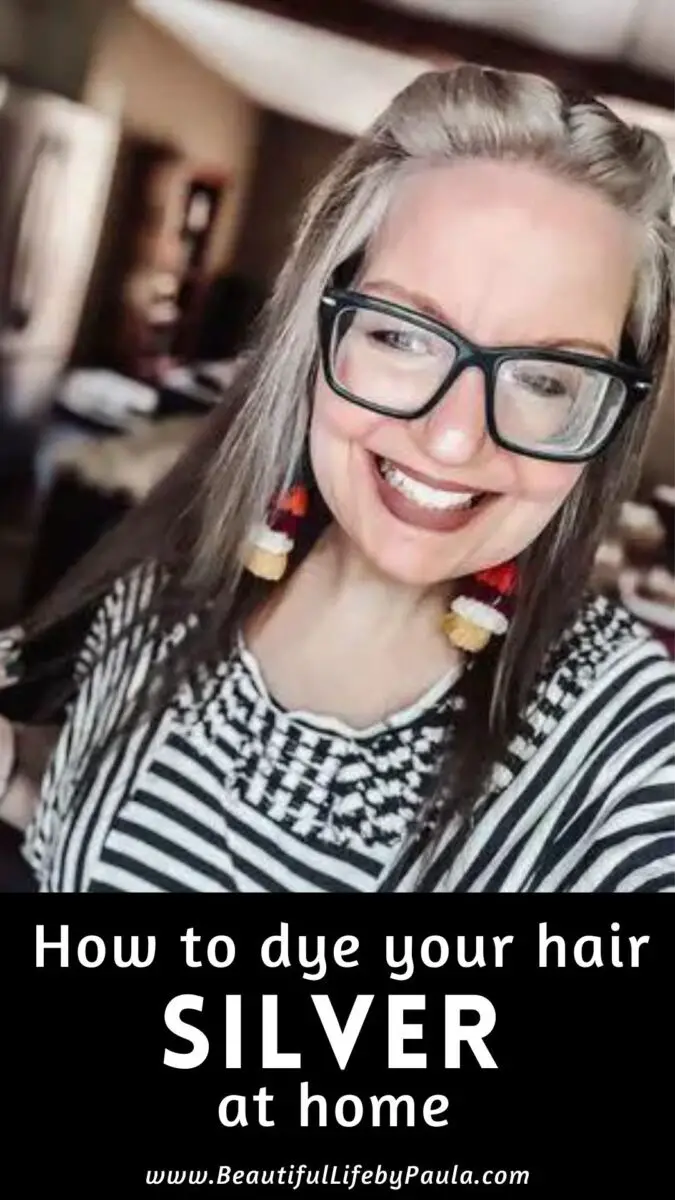
about the author, Sherri Ohler

Sherri is a certified Herbalist, Bible Teacher, & End Times Enthusiast.
Visit her site Emerald Glory Wellness to learn about natural Biblical healing and shop her spiritually pure, naturally organic essential oils, herbal supplements, and tinctures she created with, and for the glory of Messiah, Yeshua.
Not sure if you're ready to go gray? Check out my post Live Free or Dye! (How to Embrace Gray Hair and Go Gray Gracefully!)
Looking for more options for how to gracefully transition to your natural silver hair?
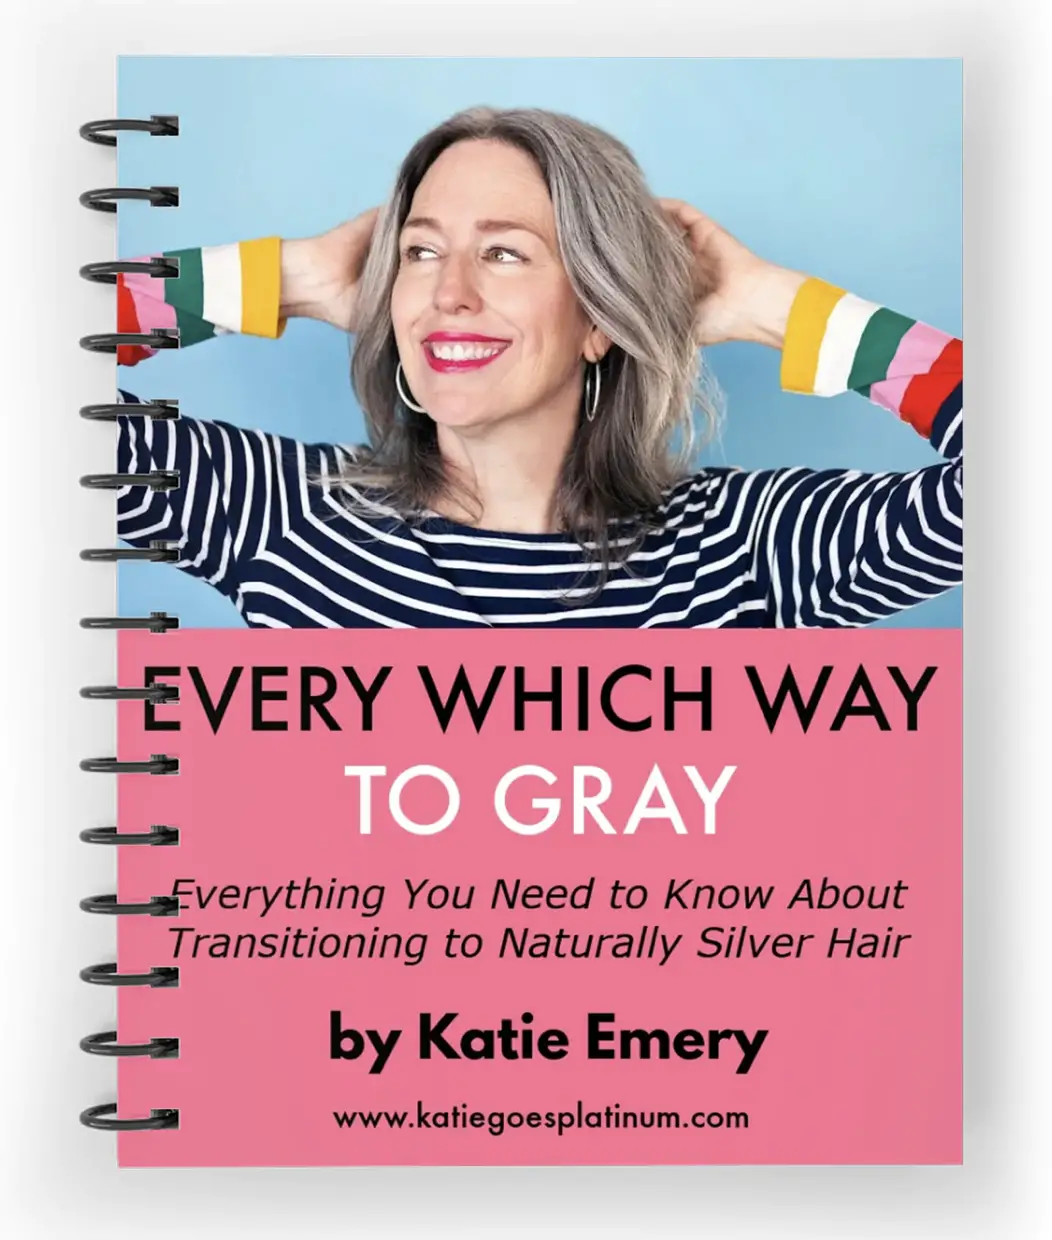
Check out this e-book by my friend Katie...it has tons of helpful ideas!
